
The Epson printers are among the high-end printers for printing documents, photos, labels, stickers, and more. And if you are into DIY and need to print vibrant and perfect stickers for your projects, this printer can be an excellent option. But to ensure you get the best result, you need to know about Epson printer settings for sticker papers.
Once your sticker design is ready, turn off Add Bleed and turn on Use System Dialogue before pressing Print. When the next dialogue box appears, select your printer and click Preference. There, select your paper type, paper size, Orientation to Portrait, Color, High for Quality, etc. Check the settings again on your printer to confirm everything before printing the stickers.
I don’t think the short answer explained much. I have discussed all the settings further in this article. So feel free to go ahead and check it out.
Epson Printer Setting For Different Types Of Papers
One of the good things about printing stickers with an Epson is that it offers various setting options for different types of paper. Since there are many types of sticker papers available, it is important to choose the right sticker paper setting. So before you move further into the setting instructions, check out the following table.
| Epson Paper Type | Epson Setting |
| Plain Paper/Bright White PaperBright White Paper MattePhoto Quality Self-Adhesive Sheets | Plain Paper or Plain Paper/Bright White |
| Ultra Glossy Photo Paper | Ultra Photo Paper Glossy |
| Premium Glossy Photo Paper | Ultra-Premium Photo Paper Glossy |
| Premium Semigloss Photo Paper | Premium Photo Paper Semi Glossy |
| Glossy Photo Paper | Glossy/Photo Paper Glossy |
| Double-Sided Matte Paper | Photo Paper Matte |
| Premium Presentation Matte Paper Double-Sided Premium Presentation Matte PaperUltra-Premium Presentation Matte Paper | Premium Matte/Premium Presentation Paper Matte |
How To Adjust Epson Printer Settings For Sticker Paper
The Epson printer works slightly differently than regular printers. When you want to print something, you need to adjust the settings twice: once on your computer and again on your printer.
Software/Computer Settings
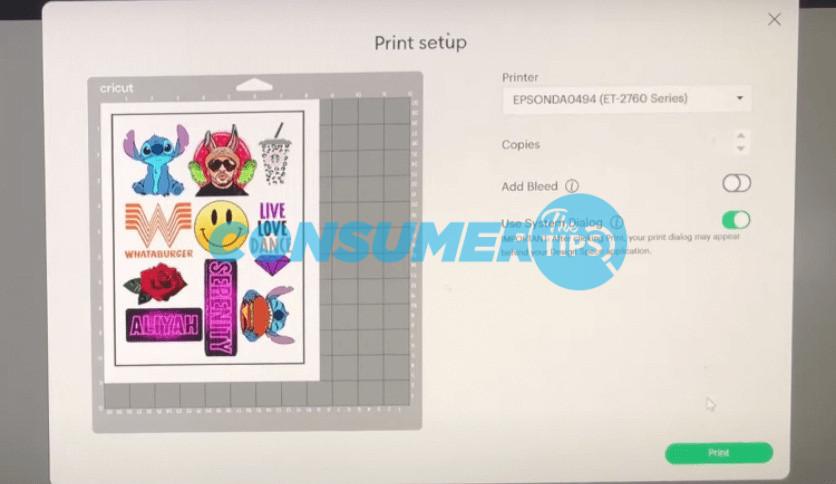
Do you have the design ready to print? Well, as soon as you select Print on your computer, the software will show a Print Setup dialog box. When you are printing stickers, turn off Add Bleed to prevent smearing and turn on Use System Dialog. Then click on Print.
Sometimes, the next Print dialog box might appear behind your design application. When it does, select your printer from the Select Printer option. Then select Preferences from around the middle of the dialog box. And it will take you to the sticker paper settings.
In the Printing Preferences dialog box, you will have to select a number of settings:
- Orientation: There are two options here – Portrait and Landscape. Since stickers are usually done in portrait format, you should choose Portrait as well.
- Paper Type: Here, you will select what type of sticker paper you choose for printing stickers. As you have read in the table above, Epson printers come with various paper selection options. So it should be easy.
- Quality: When you expand the options, you will find Standard and High. While Standard works fine for stickers, it can end up making the stickers look less vibrant. So I prefer High for stickers.
- Color: This setting option lets you choose between Color and Black/Grayscale. And it is obvious that you would want to select Color for stickers.
These are the necessary settings that you need to adjust for printing stickers on an Epson printer. You can also make other adjustments, such as whether you want a one-sided or double-sided print or whether you want to make the print borderless.
Once you are done with the software settings, click OK to go back to the Printer dialog box. But don’t press Print yet.
Printer Settings
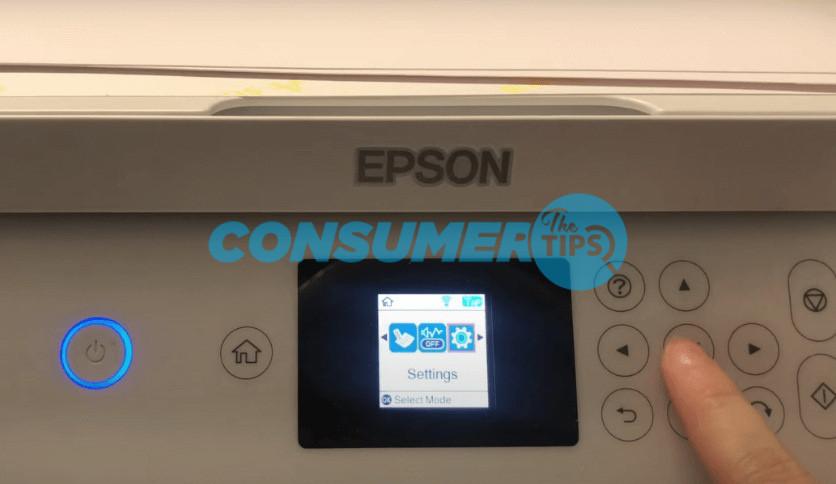
Before you print the sticker papers, you need to make sure the settings are right on the Epson printer as well. Use the navigation buttons to go to Settings. You can see the setting options on the display of the printer. Press the OK button to select the Settings menu and go to the following options.
Printer Setup → Paper Source Settings → Paper Settings → Paper Type
As you enter the Paper Type option, check to see if it shows the paper type that you chose. If the settings seem right, you can go back to the software dialog box and click Print.
| Step | Action |
|---|---|
| 1 | [Computer] Select “Print” ➔ Configure settings in the “Print Setup” dialog box ➔ Turn off “Add Bleed” ➔ Turn on “Use System Dialog” ➔ Click “Print.” |
| 2 | [Computer] If another “Print” dialog appears behind your design application ➔ Select your printer from the “Select Printer” option ➔ Then select “Preferences” ➔ Access sticker paper settings. |
| 3 | [Printer Settings] On your Epson printer, navigate to Settings using the navigation buttons on the display. |
| 4 | [Printer Settings] Select the following options sequentially: ➔ “Printer Setup” ➔ “Paper Source Settings” ➔ “Paper Settings” ➔ “Paper Type” |
| 5 | [Printer Settings] Verify that the printer shows the correct paper type you selected. |
| 6 | [Computer] Return to the software dialog box and click “Print” to start printing your stickers. |
How To Print Sticker Paper Using An Epson Printer
Once the setting gets cleared, you can easily print sticker papers with your Epson printer. And here is a short guide to that.
- Create your sticker design or download the images for your stickers.
- Once you finalize the design, select Print to go to print settings.
- Then select the settings both for software and printer as I have mentioned above.
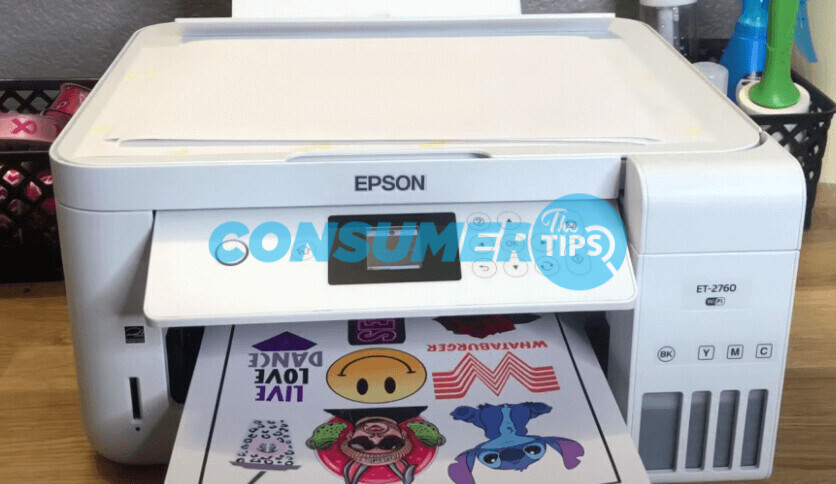
- When all the settings are finalized, click Print and wait for the sticker to print out.
- Carefully keep the sticker paper flat on a surface and let it dry for a few minutes before cutting out the stickers.
Create or download sticker design -> Finalize design -> Select Print -> Adjust settings -> Click Print -> Let stickers dry before cutting.
Frequently Asked Questions
Q. What printer setting works best for sticker papers?
Depending on what options your printer has, you can choose Best Quality or High-Quality for printing stickers. As for Epson printers, you can choose High printing quality for the best results.
Q. Why can’t I print stickers with my Epson printer?
The most common reason why the printer might not print stickers is probably because it is low on toner or ink. Other than that, it can also happen if you fail to select the right settings.
Q. Are Epson printers good for printing stickers?
Epson printers are very reliable for printing various types of papers and photos, including stickers. In fact, you can print matte, glossy, and semi-glossy stickers with such printers.
Final Words
The Epson printer settings for sticker papers vary based on what type of printer sticker you use. However, feel free to try demos with different paper settings to check which one works out based on your requirements.
References
- https://youtu.be/7cwQeBp_lSQ?si=zIFVsbIzuqNorjWX
- https://files.support.epson.com/docid/cpd3/cpd39368/source/printers/source/paper_loading/reference/wf3620_3640/paper_type_settings_us_canada_wf3620_7620.html
- https://lemp.io/how-to-print-stickers-on-an-epson-printer-a-step-by-step-guide/
- https://www.reddit.com/r/Epson/comments/yxftyj/settings_for_printing_stickers/

![Read more about the article 15 Best Fireproof Document Bags In 2024 [Update]](https://theconsumertips.com/wp-content/uploads/2020/10/rsz_doc_bag-300x148.jpg)